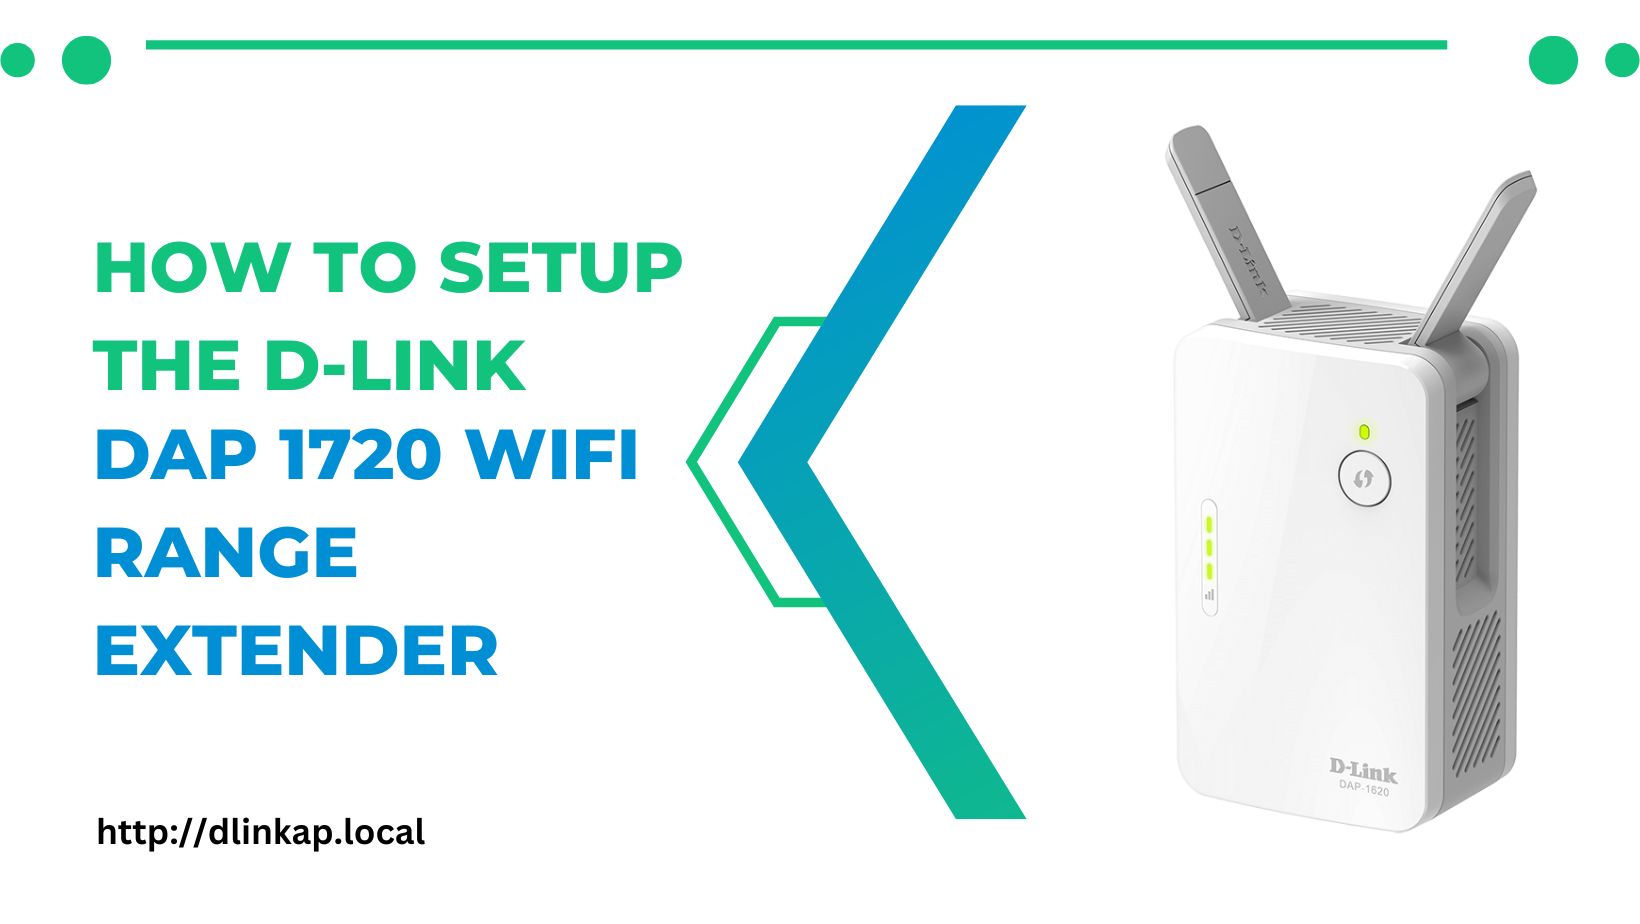
By installing the Dlink DAP 1720, you can improve Wi-Fi signal strength across your entire house. You may increase the signal strength and range of your network with this small plug-and-play gadget. It takes the WiFi signal from your router and broadcasts it in another direction. You can extend your home network and fill in any gaps with the Dlink DAP 1720 WiFi Extender at a reasonable cost. The in-built setup wizard makes setting up http://dlinkap.local very easy and quick.
How to setup the Dlink DAP 1720 Extender is covered in this article. Everything is available here, including a login page for the Dlink DAP 1720 and a firmware updater. Together with the Dlink DAP 1720 reset instructions, you will also discover advice on how to reset the password for a Dlink WiFi extender here.
Instructions for http://dlinkap.local Setup
After you set up your DAP AC1750 for the first time, you will need to update and configure its settings. You must sign in to the web browser of the Dlink extender to do this. To access the Dlinkap.local login page and complete the Dlink Dap 1720 setup, follow the instructions listed below.
- First, connect the D-Link AC1750 extender to the router, computer, and other devices.
- Connect your router and Dlink extender using the Ethernet cable provided in the box.
- Now, connect your PC to the LAN port on your Dlink DAP1720 extender using another Ethernet cable.
- Then, from the PC that is connected, open your regular browser.
- Then, press Enter after entering http://dlinkap.local or 192.168.0.50 into your browser’s URL bar.
- The next screen will ask for the default D-Link Ac1750 administrator password and username.
- The Dlink DAP user manual provides the default admin username and password.
- After entering your login information, select “quick setup” to launch the Dlink setup process.
- Choose the wireless network you wish to expand and input the password.
- Your Dlink 1750 wifi extender‘s SSID name and password can be modified in the wireless settings.
- The Dlink DAP 1720 then requires a firmware update.
- After making your selections, select Save and then Complete.
You can call the support team if you have any problems with the Dlinkap.local sign in.
How can I use the WPS button to set up my Dlink DAP range extender?
The Dlink DAP 1720 range extender supports WPS (Wi-Fi Protected Setup) push-button setup, which can be activated as follows:
- Connect the Dlink DAP 1720 repeater to a power source and wait for the power indicator light to turn solid green.
- To connect your D-Link DAP extender to your primary wireless network or access point, you’ll need to find the WPS button on both devices.
- If you want to set up WPS on your primary wireless router or access point, press and hold the WPS button for two to three seconds.
- After 3 minutes, press and hold the WPS button for another 2-3 seconds on the D-Link DAP range extender until the WPS LED begins blinking.
- Watch for the WPS LEDs to become completely green on both devices, which denotes a successful connection.
- To increase your network’s wireless coverage in a different area, relocate the D-Link DAP extender.
- Making sure your devices can join the expanded network is a good way to test out your D-Link DAP extender.