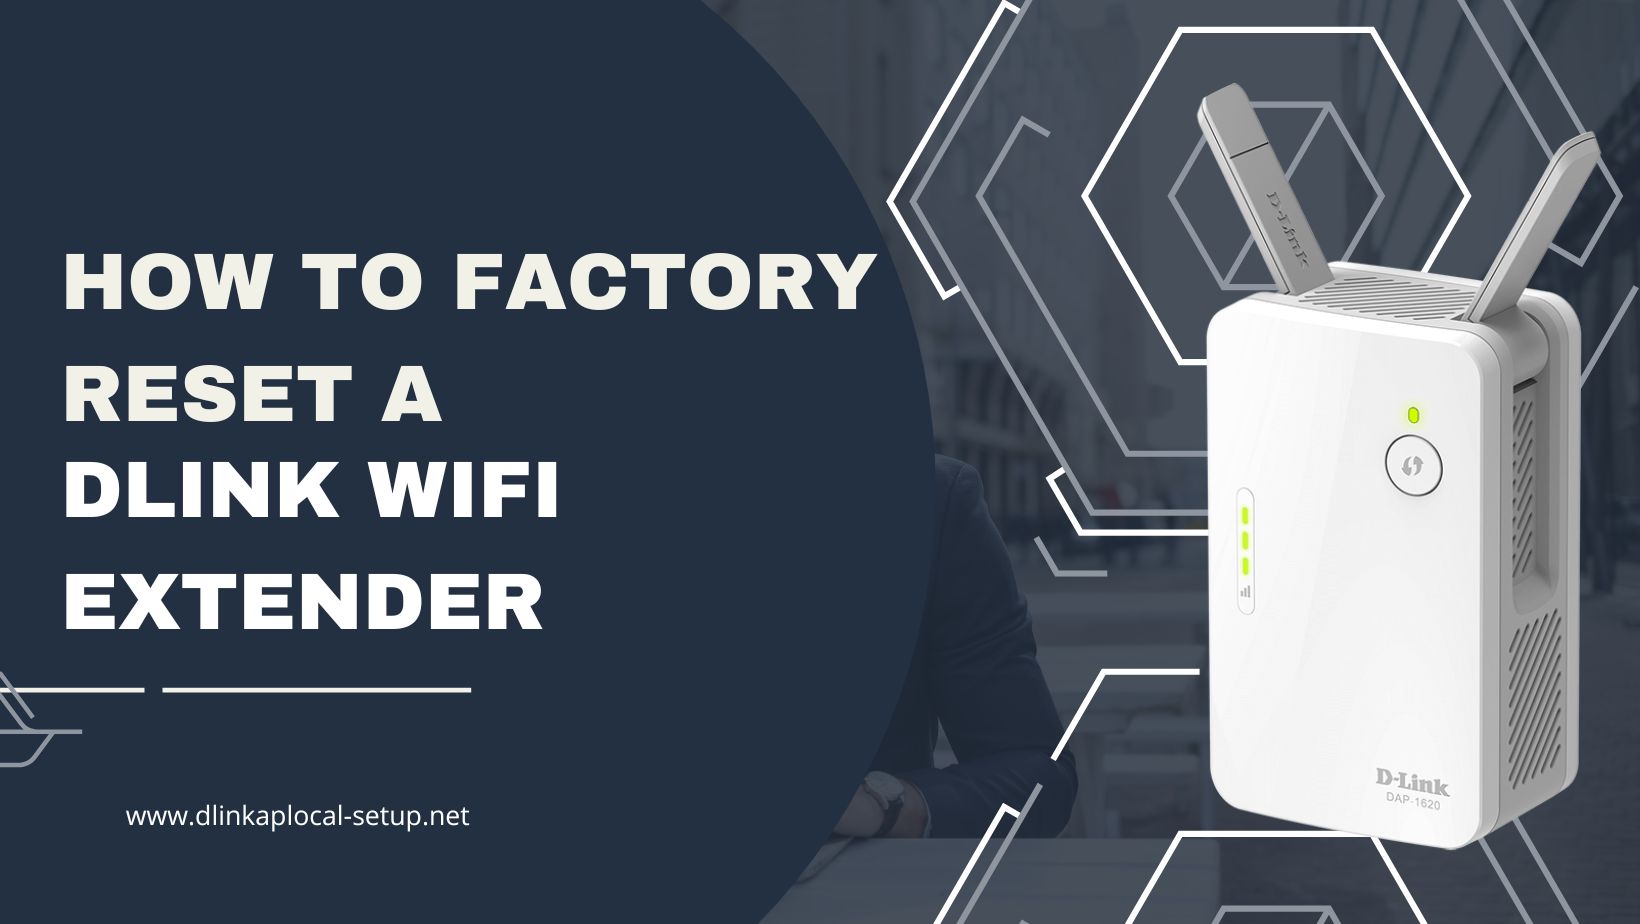
If you use the Internet from home, you’ve probably had connection issues at some point. You would then have gone online to find some troubleshooting instructions to see if they might help. If restarting your device and other troubleshooting steps didn’t work, the fastest and easiest way to fix your internet connection is to reset your Dlink wifi extender.
Resetting the extension to factory settings restores the original network configuration. The result is a device that is practically brand new (apart from the hardware being old). After a factory reset Dlink WiFi Extender, you can immediately reconnect to the internet by selecting a new network. This blog post is for you if you’ve been searching for a trustworthy resource to help you How to Factory Reset a Dlink WiFi Extender:
1. Find the reset button.
Locate the button that resets the device. To return your D-Link extender to its original settings, start here. Most devices have a reset button on the bottom or the back. A button with the words “Reset” or “Restore Factory Settings” may be present. Try pressing the button that should be inside the tiny hole.
2. Connect the Extender to Power
In order to reset your extender, you must first turn it on. Make sure it has been fully booted up by plugging it into an outlet.
3. To reset, press and hold the button.
It’s time to turn off the extension and reset it. Hold the reset button down for 10 seconds with a paperclip or other thin, solid object. Keep the button depressed for the full 10 seconds. If the button is in a darkened area, you might need to use a torch to find it.
4. Turn off the reset button.
After 10 seconds, the reset button must be released. The range booster will now return to its original settings. Please be patient with us, as this could take a few minutes.
5. Put in your extender’s plug.
You can reconnect to the extender once it has finished resetting. It’s like getting a new gadget, but you have to set it up from scratch. Instructions on how to set up your extender can be found in the device’s user manual or via other links.
Tips for Resetting Your D-Link Extender
While returning your Dlink extender to its original settings, keep the following in mind:
1. Always make a backup of your extender’s settings before resetting it. After the reset, you can go back to your previous configurations if necessary.
2. Make sure the extender is turned on correctly before you try to reset it. Doing these steps will guarantee an effective reset.
3. Press the reset button with a paperclip or something similar. Avoid using anything metallic or pointy that could scratch the extender’s surface.
4. For the full 10 seconds, keep your finger on the reset button. If the button is released too quickly, the extender may not be correctly reset.
5. After you reset your extender, if you need help configuring it, look for instructions in the user manual or online.
6. Be aware that Factory Reset a Dlink WiFi Extender to its factory settings will erase all of your custom settings, so you should be ready to set it up again from scratch.
Rebooting your modem and router may help if you’re still having difficulties connecting after resetting them. There’s a chance this will resolve any network issues.
Also Checkout This: How do I change my wireless security password on my D-Link Extender?