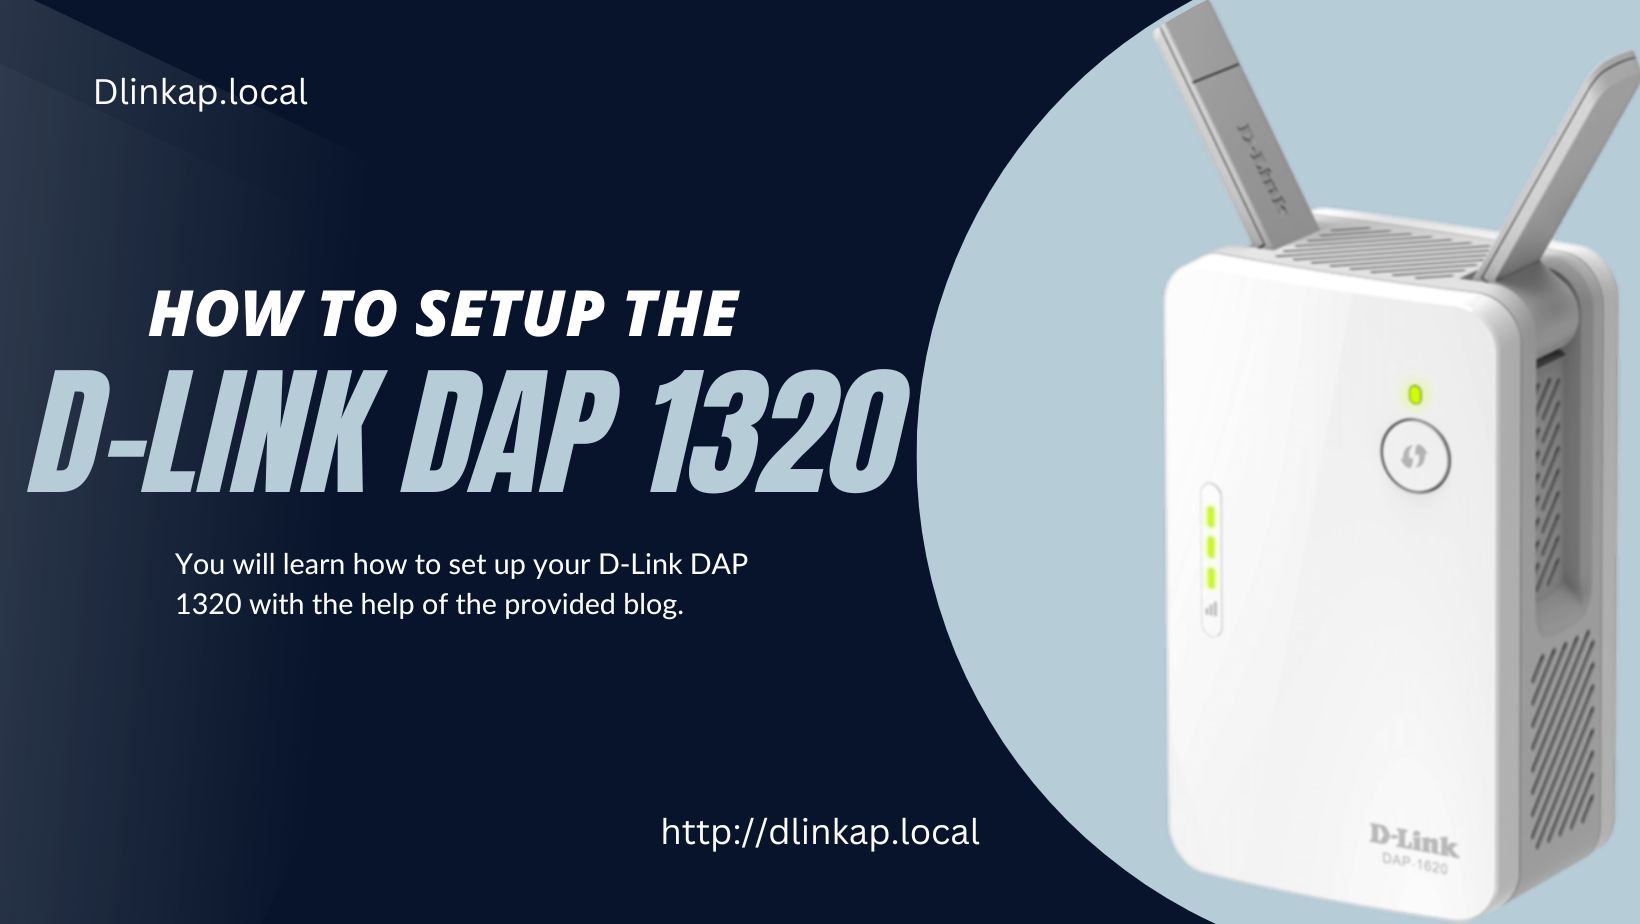
You will learn how to set up your Dlink DAP 1320 with the help of the provided blog. Nonetheless, it would be beneficial to have a fundamental understanding of the wireless network before we proceed. By placing the Dlink DAP 1320 Wireless Range Extender between your router and the remote customer device, you may increase the coverage of your existing wireless network. The DAP 1320 is a great option if you want to extend the range of your existing wireless network. The Dlink DAP 1320 setup and login process is simple because D-Link is the best networking device available today. You may quickly update the firmware on your Dlink DAP 1320 extender or return it to its factory default settings with the help of the Smart Setup Wizard. Visit the blog to find out more about how to setup the Dlink DAP 1320.
How should I setup my Dlink extender?
Here’s how to setup the Dlink range extender:
- A power supply close to your wireless access point or router should be connected to the range extender.
- Connect your computer or mobile device to an existing wireless network using the Dlink range extender. You may find the extender’s default SSID and password on its label.
- Use a web browser and navigate to “http://dlinkap.local” or “http://192.168.0.50” once you’re linked to the range extender’s wireless network.
- The standard login name and password will be required. The default username is Admin, and the default password is blank (leave it empty). Click the login button to continue.
- The Dlink range extender is simple to set up by following the instructions provided on the screen. During setup, the extender may ask for the name of a wireless network and its password.
- After configuring the extender, save your changes by clicking “Save” or “Apply.”
- After removing it from the wireless network of the extender, link your computer or mobile device to your regular wireless network.
- Take the Dlink range extender to the spot where you need more wireless signal.
- If your devices can join the extended network, the extender is functioning effectively.
Here are the procedures you should follow to update the firmware on your Dlink DAP 1320:
Updating the firmware on your Dlink DAP 1320 range extender is essential if you want it to have access to the most recent capabilities and operate without any problems. Below are the firmware update procedures:
- The most recent firmware update for the DAP 1320 range extender is available for download from the D-Link website. Download the data and keep it on your PC.
- Connecting your computer and D-Link DAP 1320 with an Ethernet connection will allow you to achieve this.
- To visit the site, launch a web browser and enter “http://dlinkap.local” or “http://192.168.0.50” in the address bar. This will launch the online interface for setting up the Dlink range extender.
- Enter your username and password. The default username is Admin, and there is no associated password (leave it empty).
- In the “Tools” menu, you’ll find the firmware selection.
- Click “Browse” to select the firmware file you downloaded, then click “Install.”
- To begin the process of updating the firmware, select “Upload.” During the firmware upgrade process, do not disconnect or power down the Dlink DAP 1320 extender.
- Please wait for the firmware upgrade to complete. That could take a while.
- When the firmware update for the Dlink DAP 1320 range extender is complete, the device will restart automatically. The power is on when the indicator light turns solid green.
- The firmware update process is complete. You can now use the Dlink DAP 1320 range extender without an Ethernet cable.