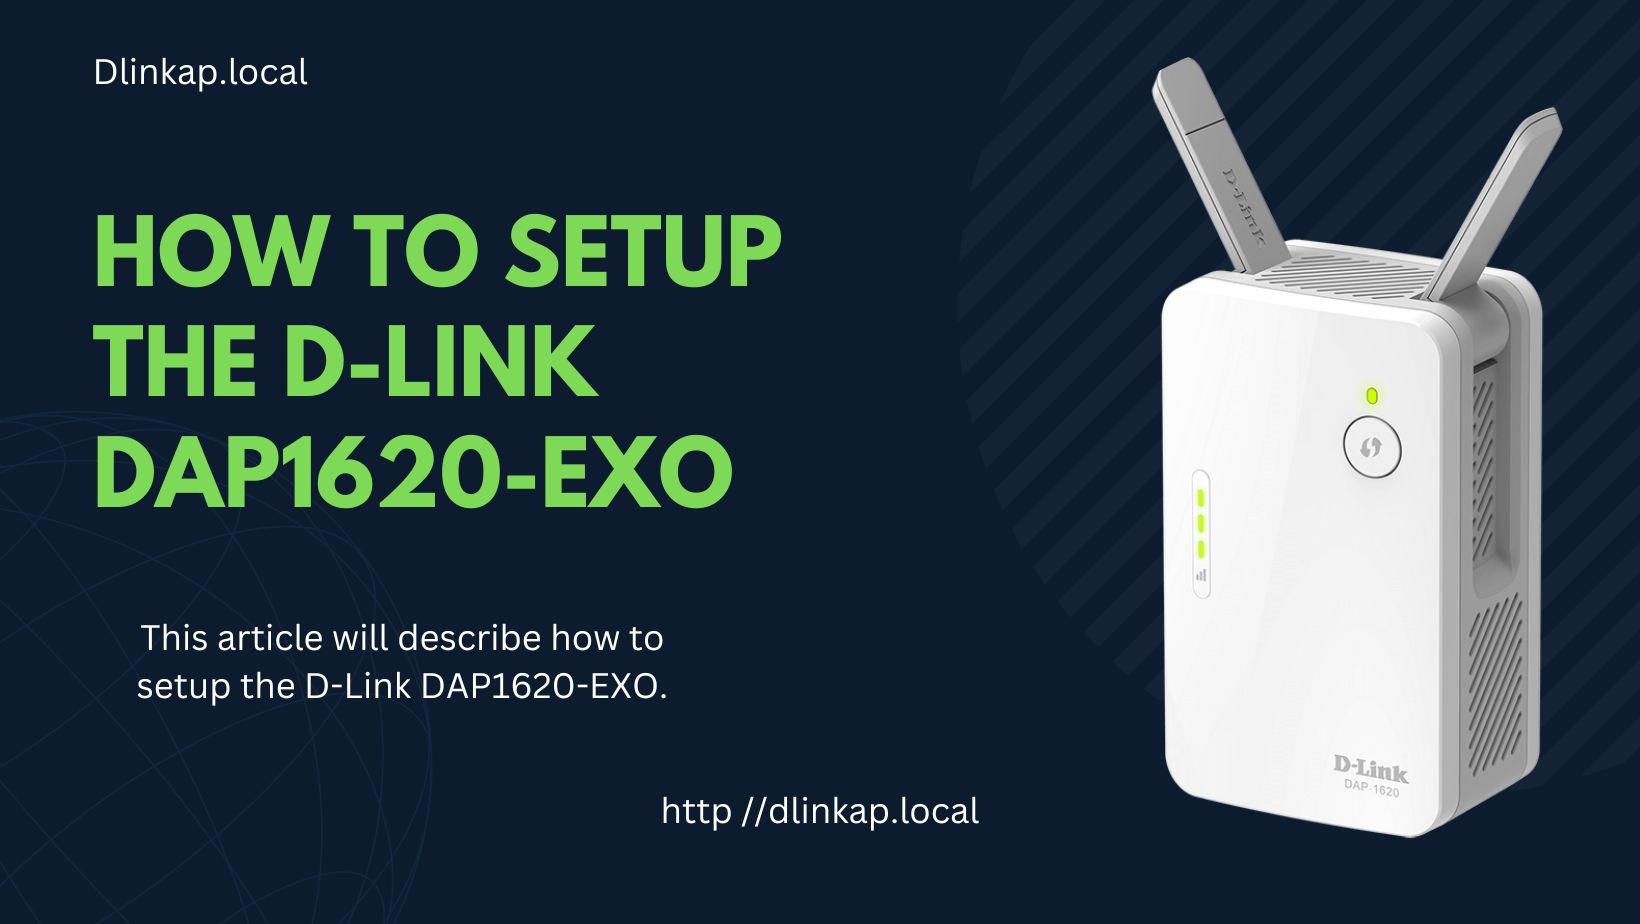
This article will describe How to setup the Dlink DAP 1620 EXO. For seamless video streaming and uninterrupted gameplay, Dlink DAP 1620 EXO Link’s mesh range extender offers combined Wi-Fi speeds of up to 867 Mbps on the 5 GHz band and 400 Mbps on the 2.4 GHz band. You can set it up anywhere in the house and still have full access to your wireless network. If you have a Dlink router that supports wireless mesh networking, you may take advantage of the revolutionary features offered by an AC1300 Wi-Fi range extender. To rapidly increase WiFi coverage in dead zones, simply connect the extender to your current router. A straightforward smartphone application makes network setup and management simple. The Dlink DAP 1620 EXO’s smart LED indicator shows you just where to put it.
Using the WPS Button to Setup
Here’s how to use the WPS button to setup Dlink DAP 1620 EXO:
- Connect the Dlink DAP 1620 EXO to a power source and keep an eye on the power LED to make sure it stays a steady green.
- To get the Dlink DAP 1620 EXO’s WPS light to blink, press and hold the WPS button for around 2 seconds.
- Within 2 minutes of completing step 2, press and hold the WPS button for roughly 2 seconds, or until the WPS LED begins blinking.
- Indicating a successful connection, the WPS light should turn solid green on both devices.
- To increase your network’s wireless range, relocate the D-link DAP 1620 EXO to a new location.
- The D-link DAP 1620 EXO is ready to use when the setup process is complete and the signal LED is solid green.
- You may test the functionality of the D-link DAP 1620 EXO by seeing if other gadgets can join the widened network.
Use the QRS Mobile App to setup
Install the D-link DAP 1620 mobile app, and you’ll have access to your device from anywhere. Setup details are provided below.
- Get the D-Link QRS mobile app for your mobile device.
- You must now use the SSID and password to link your DAP 1620 to the mobile device.
- Following the on-screen prompts is the only way to complete the setup procedure.
- After that, you’re free to surf the web without any interruptions.
Setup using a web browser
The Dlink DAP 1620 EXO also supports setup via a web browser. The steps to do so are covered below.
- Join the D-Link gadget to your wireless router, either directly or wirelessly.
- After that, launch a web browser on your computer and connect the DAP 1620 to it.
- To go there, type http://dlinkap.local into your browser’s address bar and hit enter.
- Please login using the Dlink DAP 1620 exo default username and password.
- Visit the setup page and follow the on-screen prompts to finalise the configurations.