Introduction
In this thorough manual, we’ll take you step-by-step through the process of setting up your Dlink DAP 1755 wireless access point. We have you covered, whether you’re a tech-savvy enthusiast or a beginning user. You’ll have your Dlink DAP 1755 operational at the end of this article, giving you a seamless and secure Wi-Fi experience.
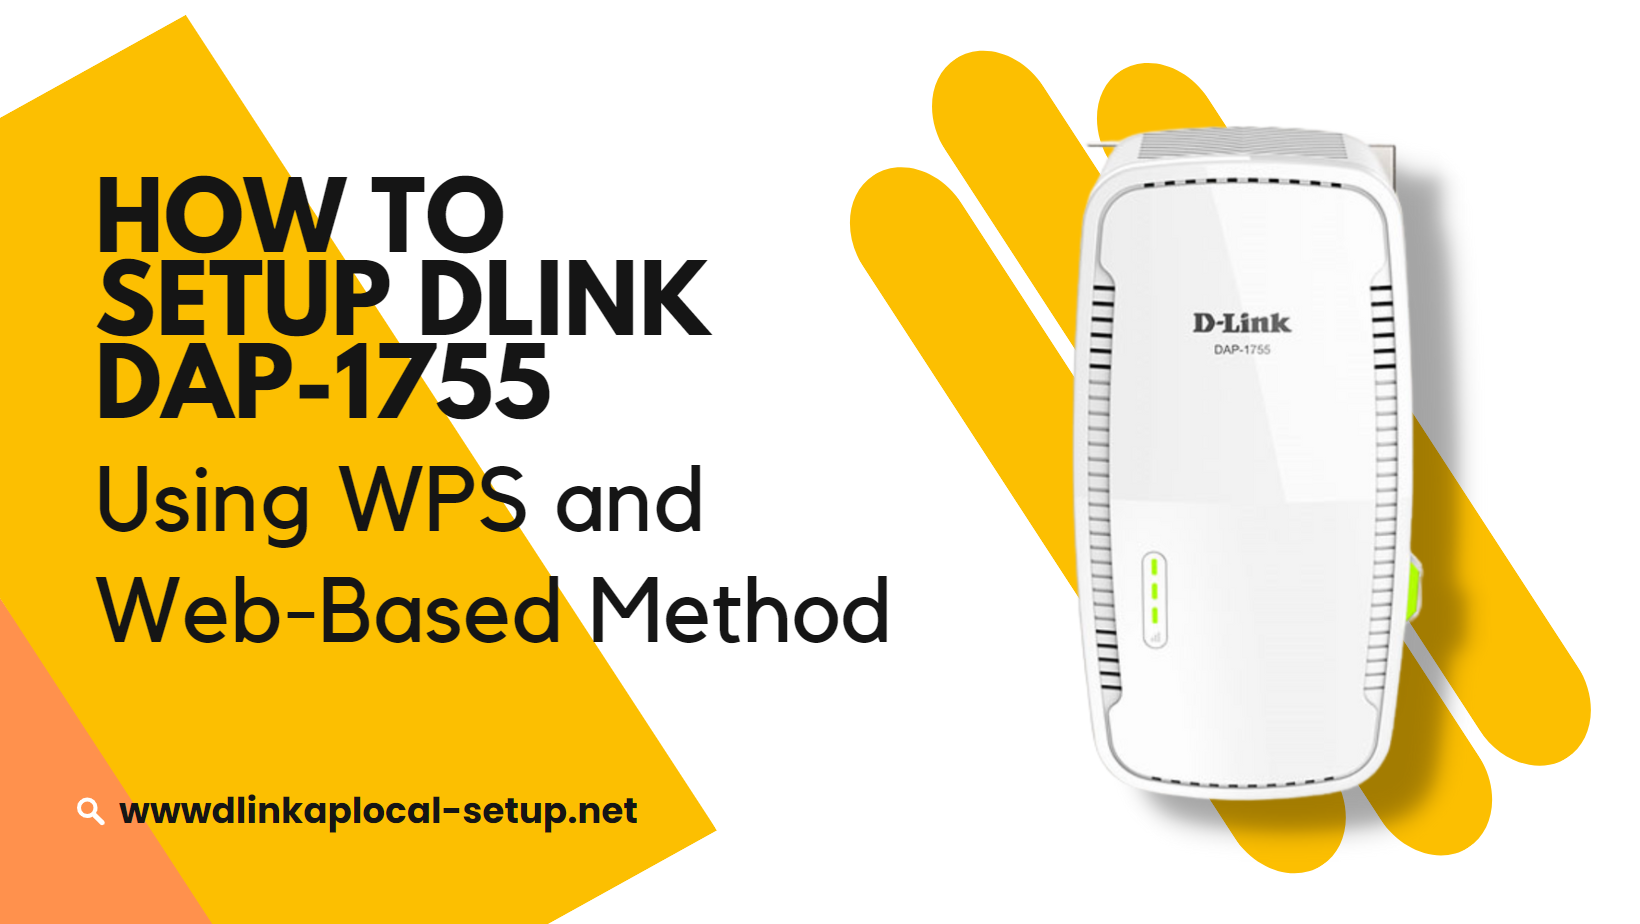
Setting Up the Dlink DAP 1755 Using WPS
Step 1: Positioning the Access Point
To get maximum coverage and signal strength for your Dlink DAP 1755, placement is essential. Choose a central area in your house or workplace that is free of obstacles and sources of interference, such as walls and technology.
Step 2: Powering On
The DAP-1755 should be connected to the power adapter and plugged into an electrical socket. Hold off until the device turns on and stabilizes.
Step 3: Activating WPS
Find the WPS button on your existing router. Until the WPS LED begins to flash, press and hold. Your router’s WPS feature is turned on by this step.
Step 4: Pairing with the Router
On the Dlink DAP 1755, press the WPS button. The access point’s WPS LED will begin to blink, signaling that it is looking for the router’s signal. The LED will become completely green as soon as the connection is made.
Step 5: Connecting to the Network
Find Wi-Fi networks by using a wireless device, such as a laptop or smartphone. Find and choose your DAP-1755’s network name (SSID). To create a secure connection, enter the network password (WPA2 key) when requested.
Setting Up the Dlink DAP 1755 Using the Web-Based Method
Step 1: Connecting to the Access Point
Connect your computer or laptop to the other end of an Ethernet cable by inserting one end into the DAP-1755’s LAN port.
Step 2: Accessing the Web-Based Interface
Enter “http://dlinkap.local” or “http://192.168.0.1” in the address bar of a web browser when it has been opened. To enter the web-based interface of the Dlink DAP 1755, press Enter.
Step 3: Logging In
The default username and password should be entered. The default credentials are often “admin” for both fields if you haven’t updated them. For further action, click the Login button.
Step 4: Starting the Setup Wizard
You can complete the first setup with the help of the web-based interface after logging in. To configure the default settings, such as the network name (SSID) and security settings, follow the on-screen instructions.
Step 5: Advanced Configuration
You can further adjust your network settings by examining the advanced configuration choices after you’ve finished the first setup. Port forwarding, guest networks, parental controls, and other features are among these choices.
Conclusion
Congratulations! Both the WPS method and the web-based method of configuring your Dlink DAP 1755 wireless access point were successful. You may now make use of the DAP-1755’s enhanced capabilities and experience seamless Wi-Fi connectivity.
Do not forget that you can consult the Dlink DAP 1755 user manual or get in touch with Dlink customer support if you run into any problems while setting up the device or need more help.
Don’t be afraid to use the DAP-1755’s capabilities to build a solid wireless network for your house or small business. Take advantage of having reliable and quick Wi-Fi throughout your facility!
We hope you’ll love this article “How to setup Dlink DAP 1755 using WPS and Web-Based Method“