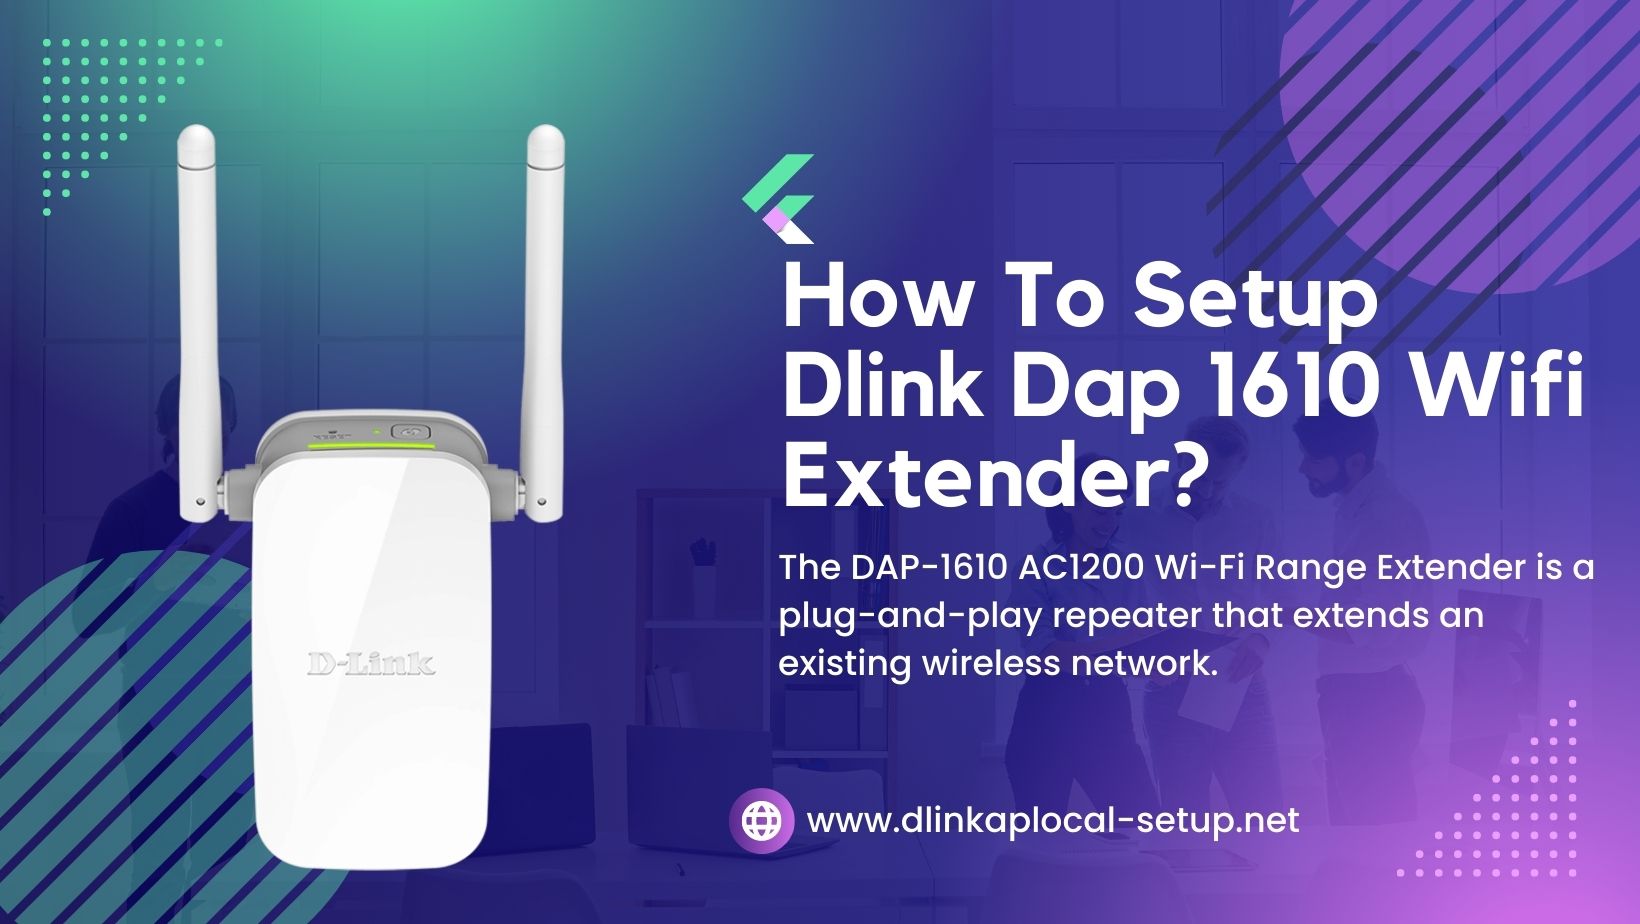
The Dlink Dap 1610 AC1200 Wi-Fi Range Extender is a plug-and-play repeater that extends an existing wireless network. To extend the range of your wireless network, you may deploy it anyplace in your home. It is little yet strong, with Wireless AC rates of up to 1200 Mbps.
With the elegant and simple-to-use Dlink DAP-1610 AC1200 Wi-Fi Range Extender, you can extend the reach of your home Wireless AC network. Dual-band technology reduces interference from surrounding wireless transmitters in the house while also providing backward compatibility with older wireless devices in your network, allowing you to enjoy a lightning-fast, dependable wireless connection.
D-link Dap 1610 is Easy to Setup and Easy to Use. You may quickly set up the DAP-1610 without a computer by using the compatible QRS Mobile software on your iPhone, iPad, iPod touch, or Android mobile device. You may also utilize one-touch configuration by pressing the WPS push-button on the DAP-1610 and the router or AP you wish to extend, and the DAP-1610 will automatically configure itself. It even comes with a built-in setup wizard for configuring it wirelessly using a PC or mobile device.
Dlink Dap 1610 Wifi Extender Setup Through Dlinkap.local.
- Set up your D-link wifi extender in the same location as your current router.
- Plug it in to a power source to turn it on.
- To connect to the network of the Dlink Dap 1610 Wi-Fi Range Extender, use the Wi-Fi manager on your PC or laptop.
- Now, use your favorite web browser and log in.
- To fill out the form, go to http://dlinkap.local./ or enter 192.168.0.50.
- When prompted, enter your username and password to log in.
- If your username or password is wrong and you’re having difficulties logging in, contact one of our qualified specialists through chat or email.
- Follow the on-screen instructions to complete the setup of your Wifi Extender.
Setup D-LINK DAP-1610 Wifi Extender Using WPS Button
- To begin Setup of Dlink Dap 1610, remove the packing from the D-link wifi extender and plug it into a wall socket near the home router’s setup.
- The router’s WPS button should then be pushed. Press and hold the WPS button for two seconds.
- After pressing the WPS button on the router, press and hold the WPS button on the D-link WiFi range extender for two seconds.
- Keep a look out for the LED lights to turn on after connecting the D-LINK AC1200 Wi-Fi Range Extender DAP-1610 to the router.
- Next, check the network SSID of the extender in the WiFi settings of your laptop or mobile device. You must input your old WiFi password to connect to the enlarged SSID.
- Unplug the D-link wifi repeater setup after attaching it to the current WiFi network and replug it in a different position.
Dlink Dap 1610 Extender Setup Using Setup Wizard
- Setup the Dlink Dap 1610 wifi extender in a wall socket that is within your router’s wireless coverage area.
- Select the Dlink Dap 1610 network’s name (SSID) and password from the wireless utility window that opens on your computer (both of these are found on the included Wi-Fi Configuration Card, or on the sticker on the base of the device).
- After that, launch a browser and type http://dlinkap.local into the address bar. The IP address http://192.168.0.50 can also be used.
- The Wi-Fi Connection Setup Wizard will launch automatically if you are configuring the DAP-1610 for the first time. A blank value should be enter in the Admin Password field otherwise. To log in, click.
- Quickly attaching your DAP-1610 Setup to an uplink router is possible with Wi-Fi Protected Setup (WPS). The second option on the setup wizard menu should be chosen if you want to configure your network manually. To proceed, press Next.
- By clicking on it in the list, you can choose which wireless network you want to use as your uplink (source). Click Select after deciding which uplink network to use.
- Input your uplink network’s Wi-Fi password. To proceed, press Next.
- The dlink wifi extender DAP-1610 will transmit the uplink router’s extended Wi-Fi network as a rebroadcast of the existing Wi-Fi connection. Give the extended Wi-Fi network the SSID (network name) and password you want to use. Check the box at the bottom of the screen to share SSID and password between the extended and uplink networks. To proceed, press Next.
- Now that the setup is complete, the uplink router and expanded Wi-Fi settings will appear on a summary page.
- . You should write down this information so that you have it handy.
- When there is a green check mark next to the icons for the Uplink Router and DAP-1610, their connection has been successful.
- Click on Save.