Introduction
Are you tired of dead zones and weak Wi-Fi signals in certain areas of your home or office? Look no further! The Dlink DAP 1520 is here to rescue you from the clutches of poor connectivity. In this comprehensive guide, we’ll take you on a journey through setting up the Dlink DAP 1520 using the WPS method and the web-based method. We’ll also explore how to reset, update firmware, access point, login, and troubleshoot any issues you may encounter along the way.
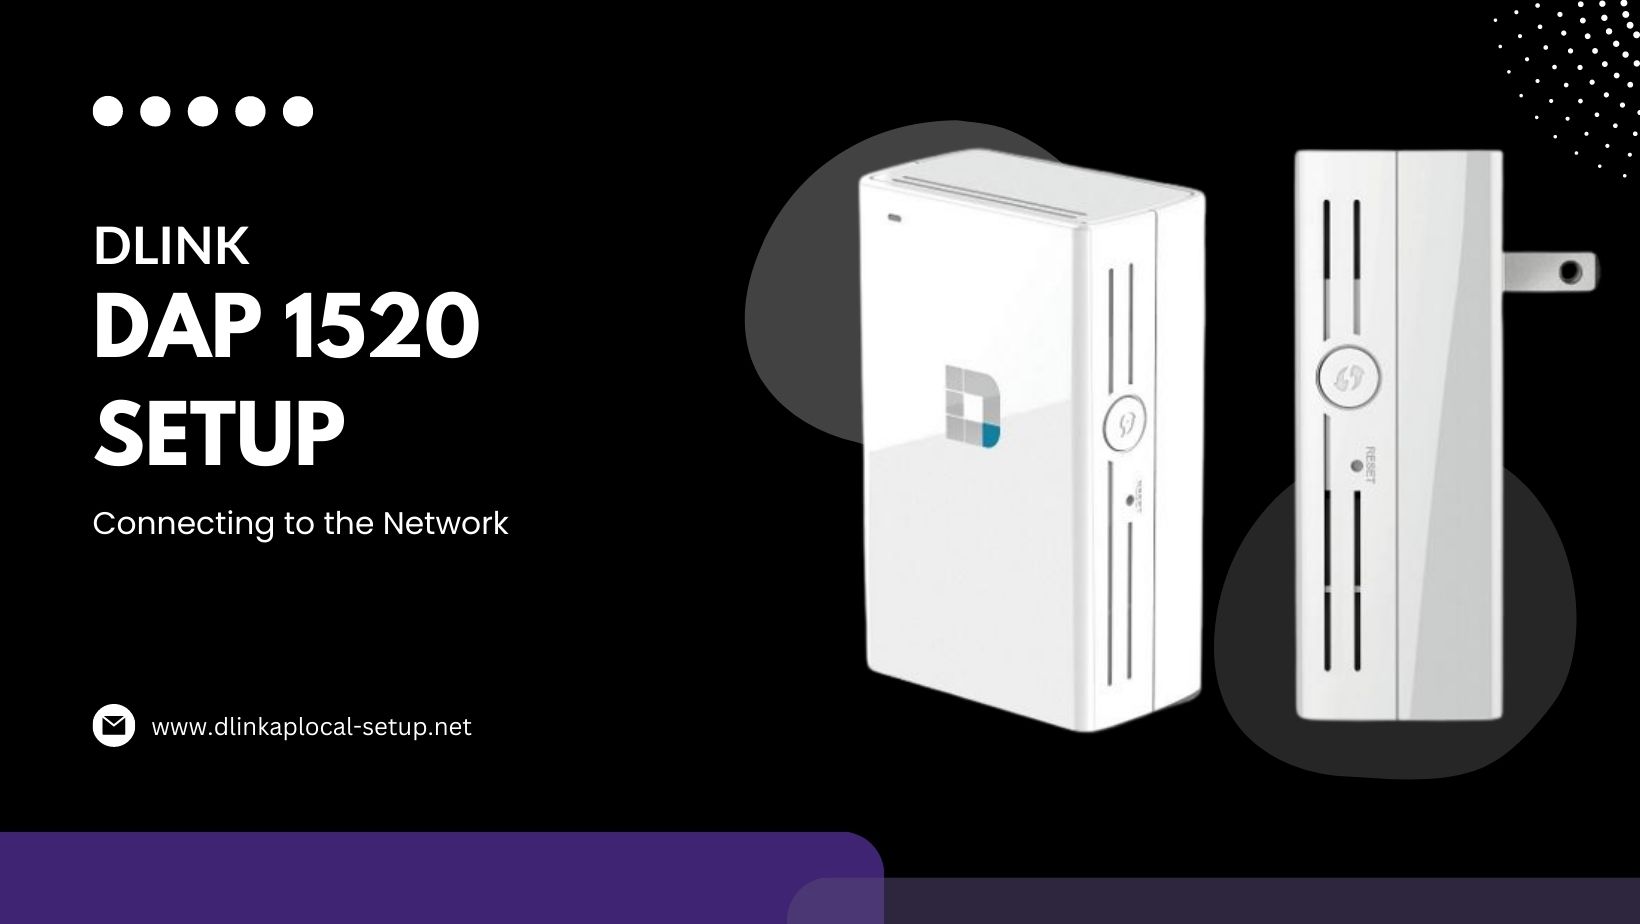
What is the D-Link DAP 1520?
The Dlink DAP 1520 is a powerful dual-band Wi-Fi range extender that enhances your existing wireless network coverage. It’s compatible with any standard wireless router and can boost both 2.4 GHz and 5 GHz frequencies.
Setup Dlink DAP 1520 with WPS Method
- To ensure optimal performance, place the DAP 1520 within the range of your existing Wi-Fi network.
- The ideal location is usually midway between your router and the area with weak signal coverage.
- Plug the DAP 1520 into an electrical outlet and wait for the power LED to turn solid green.
- Locate the WPS button on both your router and the DAP 1520.
- Before pressing the WPS button on the extension, press and hold the WPS button on your router.
- The WPS LED should blink during the pairing process.
- Once the WPS LED becomes solid, congratulations! Your Dlink DAP 1520 is now successfully connected to your existing Wi-Fi network.
Setup Dlink DAP 1520 Web-Based Method
- Using a computer or mobile device, find and connect to the Wi-Fi network named “Dlinkap.” The default password can be found in the quick installation guide.
- Enter “http://dlinkap.local” or “http://192.168.0.50” into the address bar of a web browser once it is open.
- Hit Enter, and you’ll be redirected to the DAP 1520’s web-based setup page.
- You will be led through the configuring procedure by the setup wizard.
- It will ask for your existing Wi-Fi network’s credentials, and you can choose to keep the default SSID or create a new one.
- Set a strong password for your extended Wi-Fi network to keep it safe from unauthorized access.
- Once you complete the wizard, the DAP 1520 will reboot. Reconnect your devices to the newly extended Wi-Fi network using the new credentials you just set up.
How to Reset Dlink DAP 1520
If you encounter any issues or need to start fresh, you can easily reset the Dlink DAP 1520 to its factory default settings.
- On the side of the DAP 1520, you’ll find a small Reset button.
- Using a paperclip or a pin, press and hold the Reset button for about 10 seconds.
- The DAP 1520 will reset to factory defaults and reboot. All previous configurations will be erased.
Dlink DAP 1520 Firmware Update
Keeping your Dlink DAP 1520’s firmware up-to-date is essential to ensure optimal performance and security. Here’s how to update the firmware:
- Visit D-Link’s official website and navigate to the support section. Look for the latest firmware version for the DAP 1520.
- Visit D-Link’s official website and navigate to the support section. Look for the latest firmware version for the DAP 1520.
- Follow the steps in the web based setup method to access the DAP 1520’s web interface.
- In the web interface, go to the “Maintenance” or “System” section and find the “Firmware Update” option.
- Upload the downloaded firmware file and wait for the process to complete.
- After the firmware update, the extender will automatically reboot with the new firmware.
Access Point Mode
You can also use the Dlink DAP 1520 as an access point, providing a wired connection for devices that don’t have built-in Wi-Fi capability;
- Connect your computer or mobile device to the DAP 1520 using an Ethernet cable.
- Follow the steps in the web-based setup method to access the DAP 1520’s web interface.
- In the web interface, go to the “Settings” or “Mode” section and select “Access Point Mode” Save your settings.
- The DAP 1520 will reboot and now function as an access point.
Login Dlink DAP 1520 Extender
If you ever need to access the DAP 1520’s settings, you can log in to the web interface:
- Connect your computer or mobile device to the DAP 1520 using Wi-Fi or an Ethernet cable.
- Follow the steps in the web-based setup method to access the DAP 1520’s web interface.
- Enter the login credentials you set up during the initial configuration.
- Once logged in, you can access and modify various settings to tailor the extender to your needs.
Troubleshooting
Encountering issues with your Dlink DAP 1520? Don’t worry; we’ve got you covered with some common troubleshooting tips:
- Make sure that every cable is plugged in securely.
- Try power cycling the DAP 1520 by unplugging it from the electrical outlet, waiting for a few seconds, and then plugging it back in.
- Verify that you have the latest firmware installed on the extender.
- If you’re still experiencing weak signals, consider repositioning the DAP 1520 to a more central location.
- As a last resort, you can reset the Dlink DAP 1520 to factory defaults.
Conclusion
Congratulations! You’ve successfully transformed your Wi-Fi network using the Dlink DAP 1520. With the WPS and web-based setup methods, access point mode, and firmware updates, you’re now in control of your connectivity destiny. Remember, if you encounter any issues, our troubleshooting tips are here to save the day. Enjoy your enhanced Wi-Fi experience, and wave goodbye to dead zones and weak signals!
Frequently Asked Question (FAQ)
How can I set up the D-Link DAP 1520 using the WPS method?
Setting up the DAP 1520 with WPS is simple. Press and hold the WPS button on your router first, then press the WPS button on the extender. The devices will pair, and the WPS LED will indicate a successful connection.
Can you explain the web-based setup method for the DAP 1520?
Certainly! Connect to the DAP 1520’s Wi-Fi network, open a web browser, and enter “http://dlinkap.local” or “http://192.168.0.50” in the address bar. Follow the on-screen instructions to complete the setup process.
How do I reset the DAP 1520 to factory defaults?
To reset the DAP 1520, locate the Reset button on the side of the device. Use a paperclip or pin to press and hold the button for about 10 seconds. The extender will reset, erasing all previous configurations.
Is it essential to update the firmware of the DAP 1520?
Yes, keeping the firmware up-to-date is crucial for optimal performance and security. You can check for the latest firmware on D-Link’s official website and follow the update instructions in the web interface.
How do I log in to the DAP 1520 to access its settings?
Connect your computer to the DAP 1520 using Wi-Fi or an Ethernet cable. Then, open a web browser and enter “http://dlinkap.local” or “http://192.168.0.50” in the address bar. Enter your login credentials to access the settings.
Does the D-Link DAP 1520 support both 2.4 GHz and 5 GHz frequencies?
Yes, the DAP 1520 is a dual-band extender that supports both 2.4 GHz and 5 GHz frequencies, providing you with greater flexibility and improved performance.