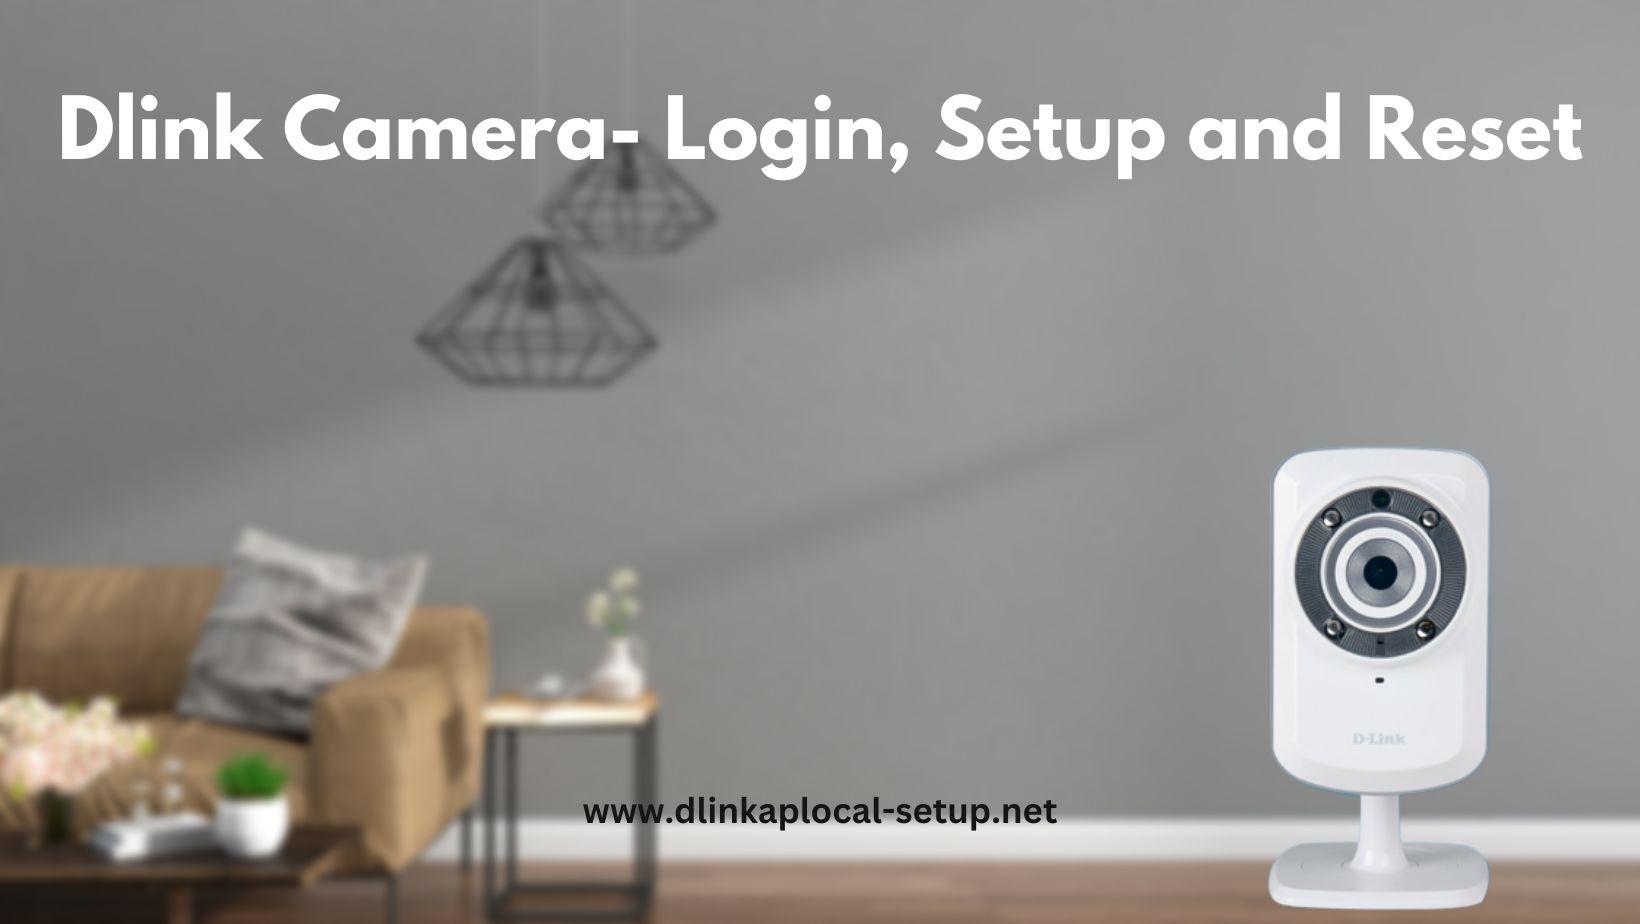
Welcome to our complete guide to setting up a Dlink camera. This article will show you how to setup Dlink camera, whether you’re a first-time user or just want to improve your current security system. With easy-to-follow steps and expert tips, you’ll be able to make sure your Dlink camera is set up correctly and get the most out of it. So, let’s dive in and learn more about how to setup a Dlink camera!
Setup Dlink Camera
Follow these steps to setup Dlink camera with the help of the mydlink Lite app:
- Get the mydlinkLite app from the Google Play Store (Android) or the App Store (iOS) and put it on your phone.
- Plug your Dlink camera into a power source and move it close enough to your Wi-Fi network for it to work.
- Open the mydlink Lite app on your phone or tablet.
- Make a new mydlink account or sign in to an account you already have.
- Once you are signed in, tap “+” or “Add” to add a new device.
- From the drop-down menu, select “Scan Barcode” or “Scan QR Code.”
- You can find a QR code or barcode on your Dlink camera either on the camera itself or in the user instructions. Use the camera on your phone to read the QR code or barcode.
- The app will instantly find your camera and show you what it sees on your screen. Make sure that the camera shown matches the one on your device.
- Tap the name of the camera. You will be asked to enter the Wi-Fi network name (SSID) and password.
- Type in the right name and password for the Wi-Fi network, then tap “Next” or “Connect.”
- The camera will try to join to your Wi-Fi network through the mydlink Lite app. Wait until everything is done. It might take a little while.
- The app will show a confirmation message once the camera is linked to your Wi-Fi network.
- You can now use the mydlink Lite app to connect to and handle your Dlink camera. The app will let you live-stream, record, and change the settings for your camera.
All done! With the help of the mydlink Lite app, you have successfully set up your D-Link camera. You can now use the app on your phone to check on your camera from a distance.
Read More: How to change D-Link DSC-930L default FTP port 21
Dlink Camera login
- Open your web browser (Chrome, Firefox, Opera, or any other).
- Type 192.168.0.20 in the address bar to get to the router’s web-based user interface.
- The usual IP address for the admin interface is 192.168.0.20.
- You should see two text fields where you can type in a username and a password.
- Your Dlink camera‘s default username is admin. The blank password is used by default.
- Enter the username and password, then hit “Enter.” You should now see the router’s control screen.
Dlink camera Reset
Follow these steps to reset a Dlink camera to its original settings:
- Find the button on your Dlink camera that lets you reset it.
- Depending on the type of camera, the reset button may be in a different place. Most of the time, it is a small hole or button that says “Reset” or “RST.”
- Use a paperclip or another small, pointed item to press and hold the reset button while the camera is on.
- Keep holding the reset button for 10 to 15 seconds or until the camera’s LED lights start flashing.
- When the LED lights flash, which means that the reset process has begun, you can let go of the reset button.
- Give the camera a few minutes to finish resetting.
- Once the reset is done, you can turn off the camera’s power and then turn it back on to restart it.
After you reset the camera, it will go back to its factory settings, which include the usual username, password, and network settings. It’s important to remember that during the reset process, you’ll lose any choices or configurations you’ve made that are unique to you.
Dlinkap.local
Frequently Asked Questions (FAQ)
For a Dlink camera to be Wi-Fi connected:
1. Open the Dlink camera‘s power.
2. Install the phone app for the Dlink camera.
3. Open the app and register if necessary.
4. To add the camera, adhere to the directions in the app.
5. Utilizing the app, connect the camera to your Wi-Fi network.
6. Await the camera’s Wi-Fi network connection.
7. Verify the app’s configuration.
Through the app, you may access and manage the camera.
Reset a Dlink camera as follows:
1. Search for the reset button.
2. Hold down the reset button for ten to twenty seconds.
3. Press and hold the reset button.
4. Hold off until the camera resets.
To set up a Dlink camera:
1. Turn the camera on.
2. Download the phone app for the camera.
3. Open a profile in the app.
4. To add the camera, follow the instructions in the app.
5. Utilize the app to connect the camera to your Wi-Fi network.
6. Hold off until the camera connects.
7. Verify the app’s setup.
8. Use the app to access and manage the camera.
For your phone to be connected to a Dlink camera:
1. On your phone, download the D-Link camera app.
2. Make an account on the application.
3. To add the camera, adhere to the directions in the app.
4. Through the app, connect the camera to your Wi-Fi network.
5. Using the app on your phone, you may access and operate the camera.